Source: Joseph Calev/Shutterstock.com
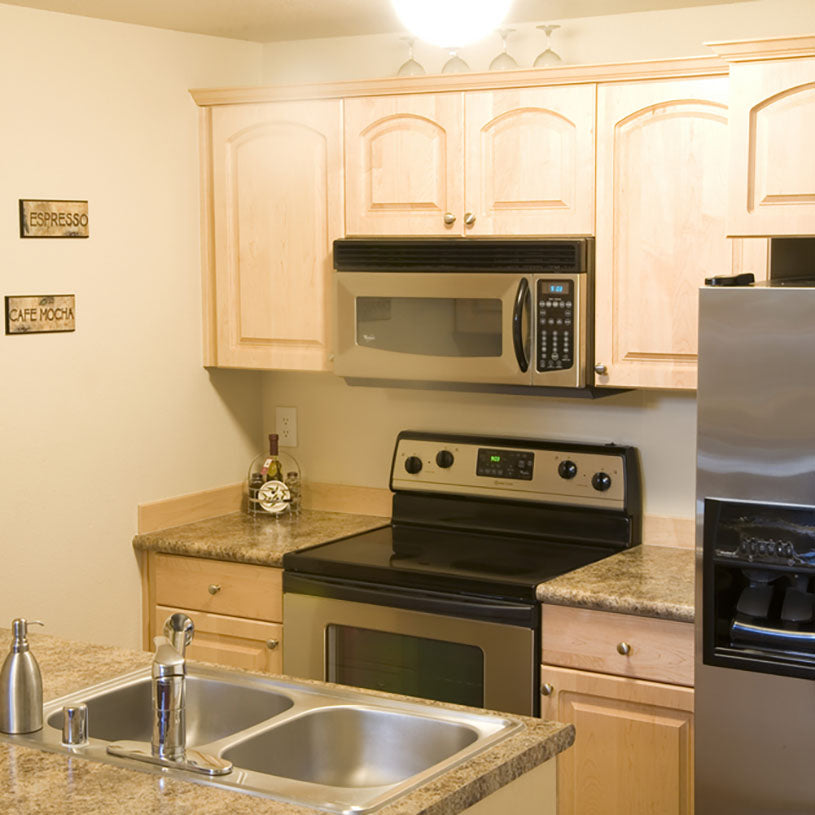
Over-the-range microwaves (OTR), also known as built-in microwaves, are microwaves designed to sit above your stovetop. While OTR microwaves can be convenient and an excellent choice to save space, they are more challenging to install and replace than their countertop equivalents. If you own an OTR microwave and are ready for an upgrade, follow these steps to learn how to replace your over-the-range microwave.

Source: David Spates/Shutterstock.com
Step 1: Take Measurements
Before unscrewing or uninstalling anything, it is critical to take a few measurements first. Use a measuring tape to measure the following dimensions:
- Your old microwave’s width, depth and height
- The distance between your range top to the bottom of the cabinet inside which your microwave sits
- The height between the bottom of the microwave and the floor
Although your specific model may vary, most microwaves are about 30" wide, 15"-16" deep, and 12-14" tall. You need the old microwave’s dimensions to determine which new over-the-range microwave models best fit inside the existing space. The other two distances are used to determine whether your old microwave sits at a safe distance relative to your stovetop and the floor. According to the National Kitchen & Bath Association (NKBA) Planning Guidelines, your microwave should be no higher than 54" off the floor and at least 30" above the stovetop. Ensure you also meet all current building codes applicable in your area.
Shop Our Quality Kitchen Appliance PackagesStep 2: Uninstall the Old Microwave
After taking all the requisite measurements, begin by uninstalling your old OTR microwave.
First, unplug the old microwave from its power outlet. The outlet is typically located inside one of the cabinets above or to the side. Next, locate the microwave’s support screws. OTR microwaves are designed to fit into a set of mounting brackets from the top side through the bottom of the cabinet.
Before you start unscrewing the microwave, install a drop cloth on your range or stovetop and enlist the help of another person to ensure the microwave doesn’t fall. Once you are ready, you can unscrew your old microwave from its brackets. After removing all screws, tilt the microwave down and lift the back to unhook it from its brackets. You may need a second person’s help to lift it out. Pull the cord out from the bottom and secure it before moving the unit. Once you remove the microwave, unscrew the mounting brackets from your cabinet. Don’t reuse the old brackets unless your new microwave is the same make and model range as the old one. They may not be compatible.

Source: Stuart Monk/Shutterstock.com
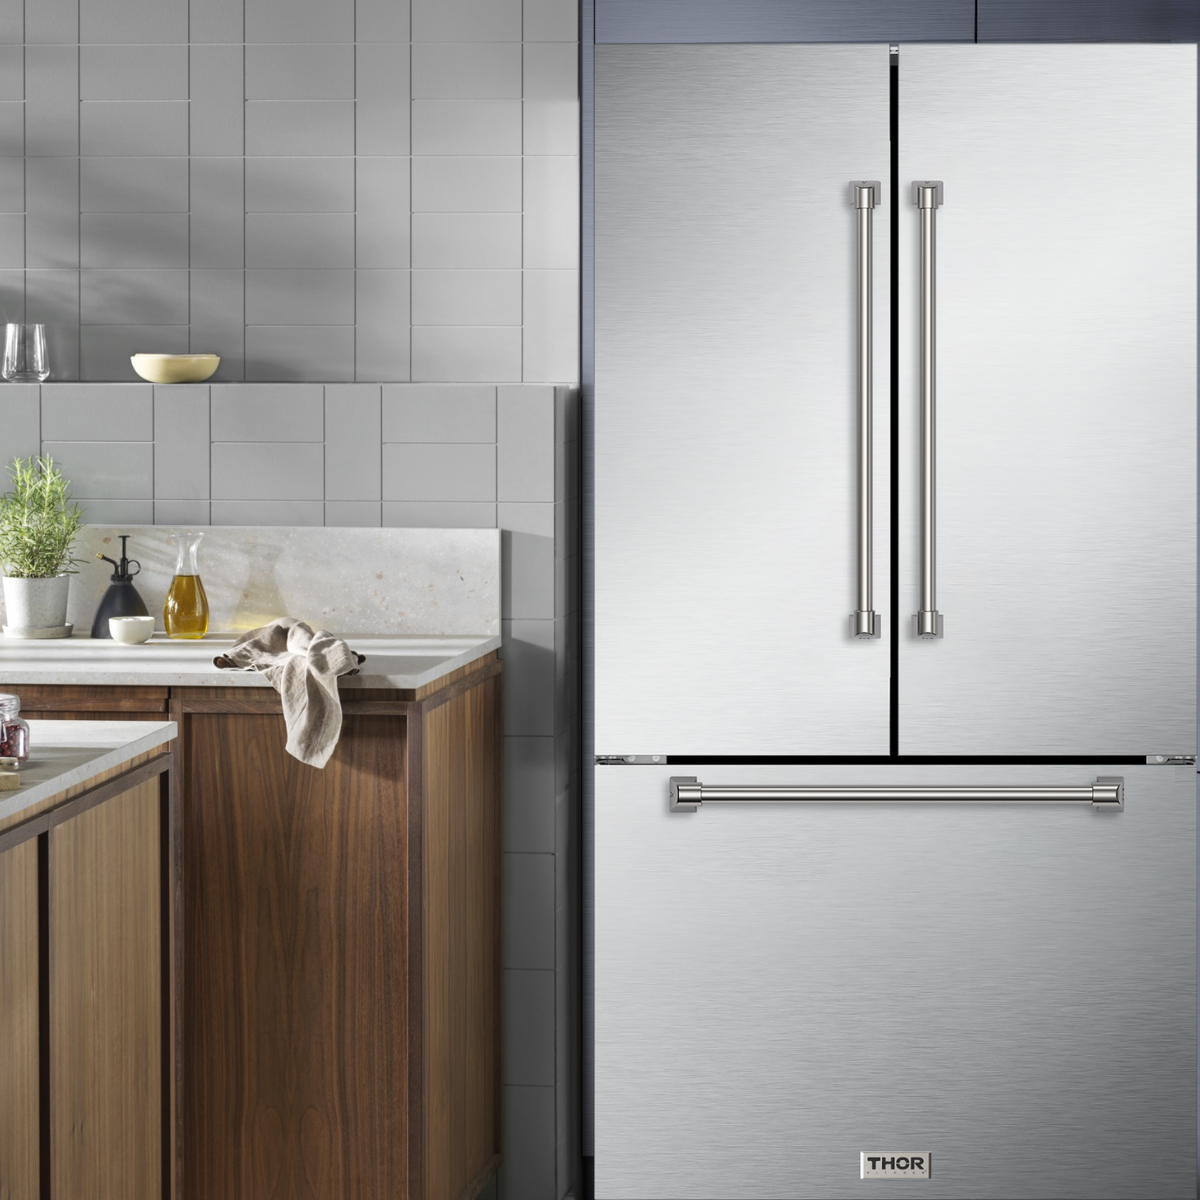
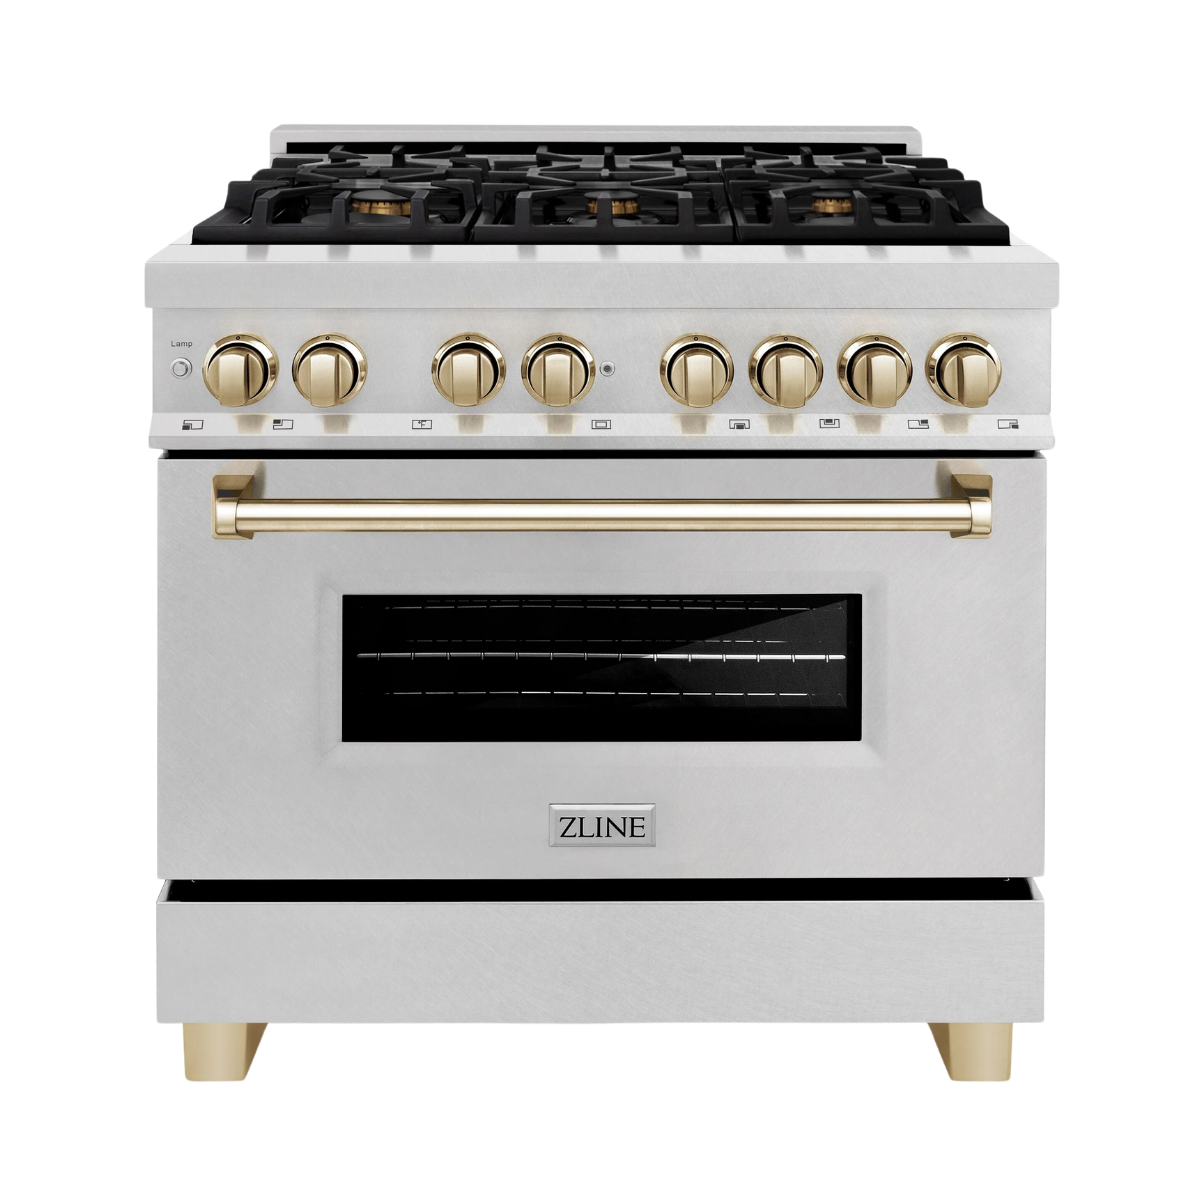
Step 3: Select a New Microwave
Using the measurements you’ve taken in Step 1, select a new over-the-range microwave unit. You can choose a standalone model or an OTR microwave included in kitchen appliance packages based on the amount of space available in your kitchen cabinet. Typically, the best kitchen appliance packages include equipment designed to work together, eliminating the need to verify whether the microwave is compatible with the stove. For example, if you select a kitchen package with a gas stove, the included microwave will be compatible with it as long as you install it at the correct height.
Step 4: Prepare for the New Microwave
Installing the new OTR microwave requires you to follow two substeps: installing the brackets and mounting the microwave unit.
The Best Selection of OTR MicrowavesStep 4.1: Mounting brackets
Unbox your new microwave, locate the mounting brackets on the back of your new unit, and then remove them. Check your cabinet’s microwave opening for stud marks. If there aren’t any, you may need a stud finder to locate them. Your new microwave should come with back wall and top wall templates, complete with instructions on how to place them and where to drill the pilot holes. The instructions should also indicate which types of screws and toggle bolts you’ll need to install the brackets. These instructions may vary depending on the manufacturer.
Step 4.2: Installing the new unit
Unscrew the microwave’s back fan plate, rotate the fan until it’s aligned with the exhaust duct and then reattach the plate. If a damper kit is provided in the box, install it. Locate the microwave’s power cord and pull it through the cord hole in the cabinet. Lift the microwave, tilting it up until the back aligns with the mounting brackets. Once in place, secure the microwave in place through the cabinet above it with the top-side mounting screws. Remove any remaining plastic wrappers or packaging, plug the unit in and test it. Ensure the microwave does not wobble or fall out of alignment when operating, opening or closing the door.
Create the Kitchen of Your Dreams with Premium Home Source
At Premium Home Source, we understand the need for top-quality home and kitchen appliances. Our mission is to help you find the best products for your home at the best possible prices. We also offer special savings for current and veteran members of the U.S. military, National Guard and Reserve through our Veteran and Military Purchase Program. Simply provide your military ID and receive a discount as a token of our appreciation for your service. We offer free shipping on all orders, from standalone microwaves to complete Thor appliance packages. At Premium Home Source, we take the pressure off making a significant purchase for your home with our 30-day return policy.