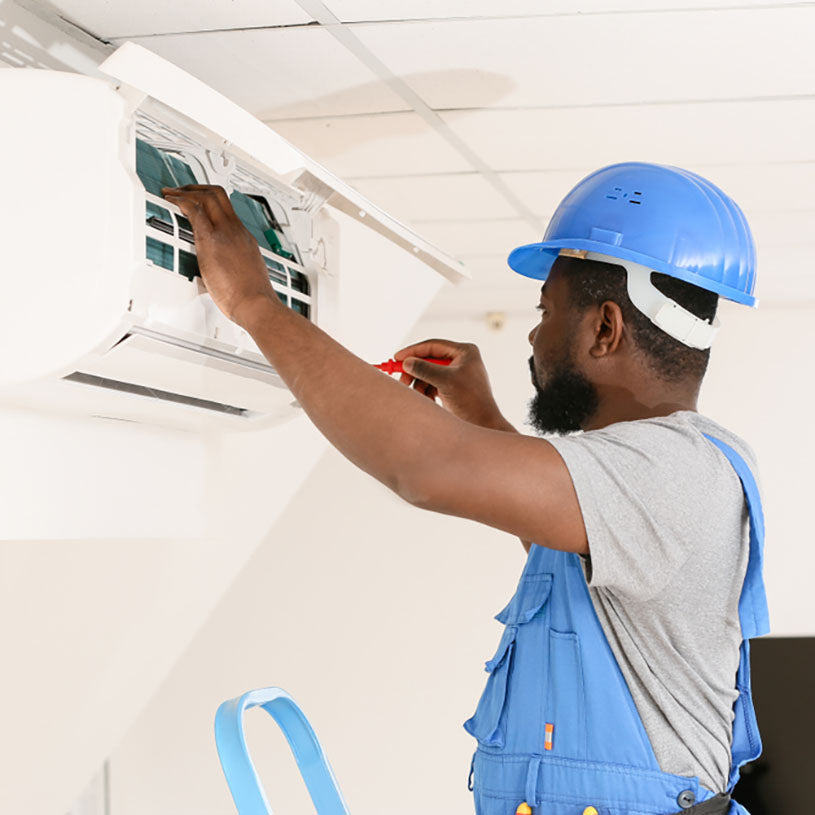
Source: Pixel-Shot / Shutterstock.com
A mini split is a heating and cooling system that provides precise and efficient temperature control for a specific zone(s) or room(s). Unlike traditional HVAC air conditioning units, mini splits operate without ducting. Instead, they use refrigerant lines and condenser coils to regulate airflow and room temperature. The lack of ducting means that mini splits waste very little energy, making them much more efficient than ducted HVACs.
A standard mini split system has two primary components: an indoor air handling unit and an outdoor compressor. The air handler regulates the temperature for one zone only. However, there are multi-zone mini splits comprising several indoor air handling units connected to a single outdoor condenser, providing custom temperature control in several rooms.
For example, a 3 zone mini split allows you to establish three separate cooling zones, and each can be controlled individually. Mini split systems are compact and discreet, blending seamlessly into a living space. Due to their efficiency, they are a popular alternative to ducted systems. If you’re retrofitting an office or a multi-person household, you’ll need to learn how to install mini split appliances.
Installing Your Mini Split System
Installing a mini split system is relatively straightforward, and the entire process can be completed in a single day. However, fitting refrigerant lines involves handling potentially toxic chemicals, so you should hire a professional HVAC technician for this step of the installation process. Installation requires an adjustable wrench, a drill, a hole saw and a level. Having some DIY experience is essential to operate the tools and machinery safely. If you’re inexperienced or uncomfortable using drills and hardware, consider hiring a professional installation service to ensure a safe and correct installation.
Stay Cool with a MRCOOL Mini SplitMount the Wall Bracket and Drill Holes for the Lineset
The first step is to install the mounting bracket for your indoor air handler. Check the manufacturer’s instructions for positional information. Depending on the brand and unit size, the manufacturer may recommend placing the unit a set distance from the floor or ceiling to optimize air distribution and performance. The air handler should be positioned away from direct sunlight, doorways and dust sources like sofas or rugs. Before drilling the lineset hole, ensure no pipes or electrical wires obstruct the path of the drill bit. Use the hole saw to create the lineset hole. Drill from inside to outside at a downward angle so the lineset can drain freely.
Run the Lineset
If possible, get someone to help you run the line set. Feed the line through the hole with your helper on the exterior wall. Instruct your partner to gently bend the line toward the condenser unit location. Next, feed the drain line and extension before wrapping the joint with electrical tape.

Source: Andrey_Popov / Shutterstock.com
Fit the Indoor Air Handler
Before mounting the handler, connect the control wire to the back of the unit. Follow the manufacturer’s recommendations for exact instructions. Unwrap the refrigerant line and position it next to the hole. Next, mount the unit onto the bracket and secure it using the provided hardware. Once it is in place, carefully slide the refrigerant lines, wires and pipes through the hole toward the outdoor condenser.
Install the Outdoor Condenser
Position the outdoor condenser away from obstructions like trees or bushes. Connect all lines and piping from the indoor handler to the condenser. If the lines are precharged, do not cut them, as this could release refrigerant into the atmosphere. The final step is to attach the multi-conductor wires, which typically requires a torque wrench.
Go Ductless with MRCOOL DIY Mini SplitsConnect the Refrigerant Lines
Connecting the refrigerant lines is a complex and potentially dangerous task. Contact a professional to complete this step. Ask the technician to double-check that all connections are safely secured. Once the connections are verified, your system should be ready for use.
DIY Mini Split Systems
The 4th generation MRCOOL DIY mini split system is uniquely designed to facilitate easy DIY installation. They come with all the necessary tools, equipment and quick-connect lines with preloaded refrigerant, eliminating the need for expensive equipment. These units also mount on snap brackets that take just a few minutes to install. MRCOOL systems are highly efficient, and their latest models contain modern features like remote smart device control, Google and Alexa assistant compatibility and auto restart functions. The 4th generation line also comes with a limited lifetime warranty.

Source: fizkes / Shutterstock.com
Upgrade Home Efficiency with a Mini Split System
Premium Home Source is a family-owned business providing high-quality and affordable appliances for households and commercial properties. We are an authorized supplier of MRCOOL mini splits, one of the leading heating and cooling industry brands. Our comprehensive inventory list contains 4th-generation systems in various sizes, providing you with several efficient options for upgrading a home or office. Browse our online store or contact us today for more information on our mini split offers.