Ductless mini splits have been growing in popularity for it's ease of installation, affordability and versatility to install in almost any space. As a leading distributor of mini splits, we thought it'd be a great idea to share what we've learned as best practices when installing and maintaining these mini splits.
Best Practices:
- Always have an installation buddy. Especially when you are installing a DIY system like the MRCOOL 4th Generation Series, you'll need at least two people to successfully install the full systems. Specifically for installing the indoor unit!
- Positioning the Condenser/Outdoor Unit. Aside from following the manufacturer's requirements on positioning, you'll want to ensure the condenser is placed as evenly to all the zone(s) as possible. For example, if you have 3 zones, the distance between the condenser and indoor units should not vary significantly. It is better for the distance to be 15, 20 and 18 feet versus 5, 15 and 35 feet.
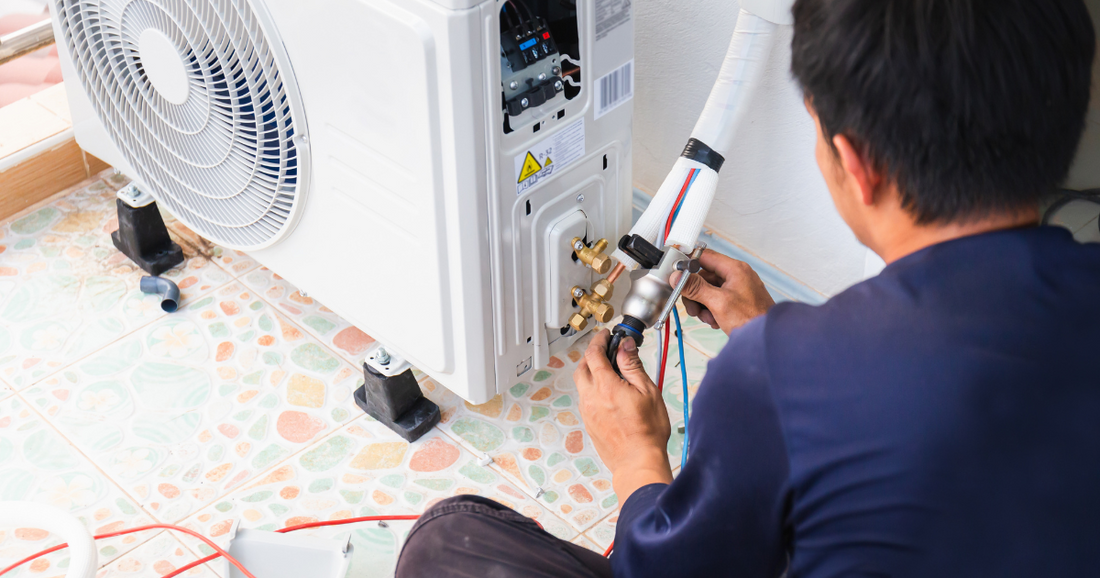
- Test, Test, Test. Always ensure there are no leaks from the condenser to the indoor unit. How do you do this? Check out this video of how to test the connect by MRCOOL.
- How electric. Installing a mini split isn't like a toaster, you aren't provided a plug where you connect it to an outlet. The system is usually connected to a disconnect box and then connected directly to a breaker box. Always hire an electrician to do this part unless you have extension experience with this type of set-up!
- Warranty. Once you are all done, make sure you register your unit to make sure you are fully covered with the manufacturer's warranty!